As solar energy continues to grow in popularity worldwide, choosing the right solar mounting system is essential for ensuring optimal performance, durability, and cost-efficiency. Whether you are a homeowner looking to harness renewable energy or a business seeking to reduce electricity costs, the choice of mounting system plays a crucial role in the success of your solar installation.
In this post, we’ll explore some of the best solar mounting systems for both residential and commercial installations, highlighting key considerations and features to help you make the right choice for your needs.

What Is a Solar Mounting System?
A solar mounting system is a framework designed to securely attach solar panels to a surface, such as a roof or the ground. These systems are critical in ensuring that the panels are installed at the correct angle for maximum sunlight exposure, while also providing structural support to withstand environmental conditions like wind, rain, and snow.
Depending on your roof type or land area, the solar mounting system can vary, but the goal remains the same: ensuring the solar panels remain in place and perform optimally for many years.
Types of Solar Mounting Systems
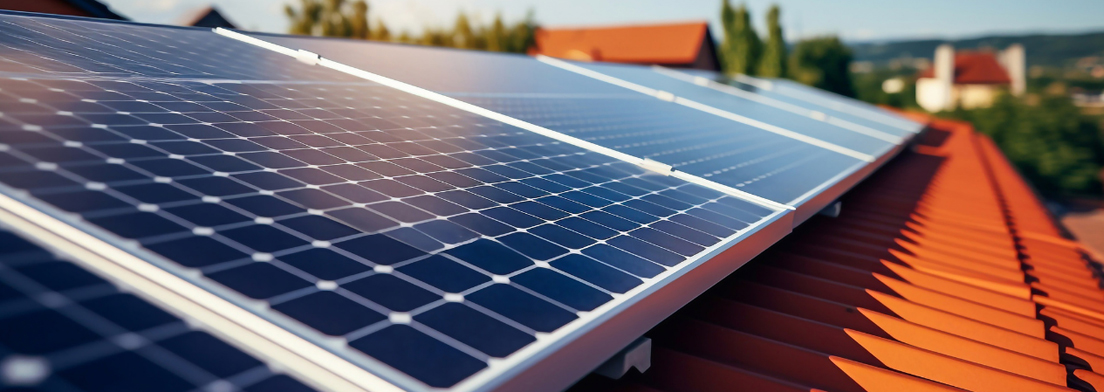
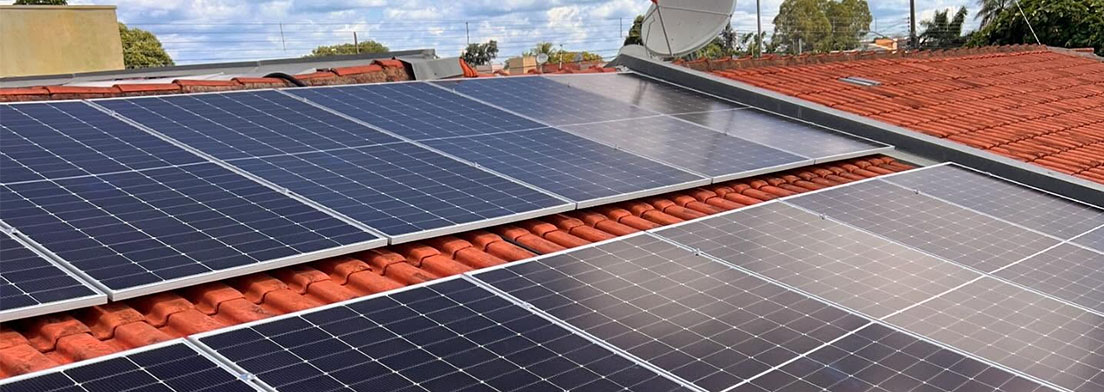
Roof-Mounted Systems
For residential solar installations, roof-mounted systems are the most common option. These systems use rails, brackets, and other hardware to attach solar panels directly to the roof. They are perfect for homes with sloped or flat roofs and are ideal for maximizing available space.
Rail-Based Systems: These systems are the most traditional type, featuring horizontal or vertical rails that allow solar panels to be securely attached with adjustable clamps.
Rail-Less Systems: These systems are becoming increasingly popular due to their sleek design and easy installation. They don’t require rails, making them a more cost-effective and time-efficient option.
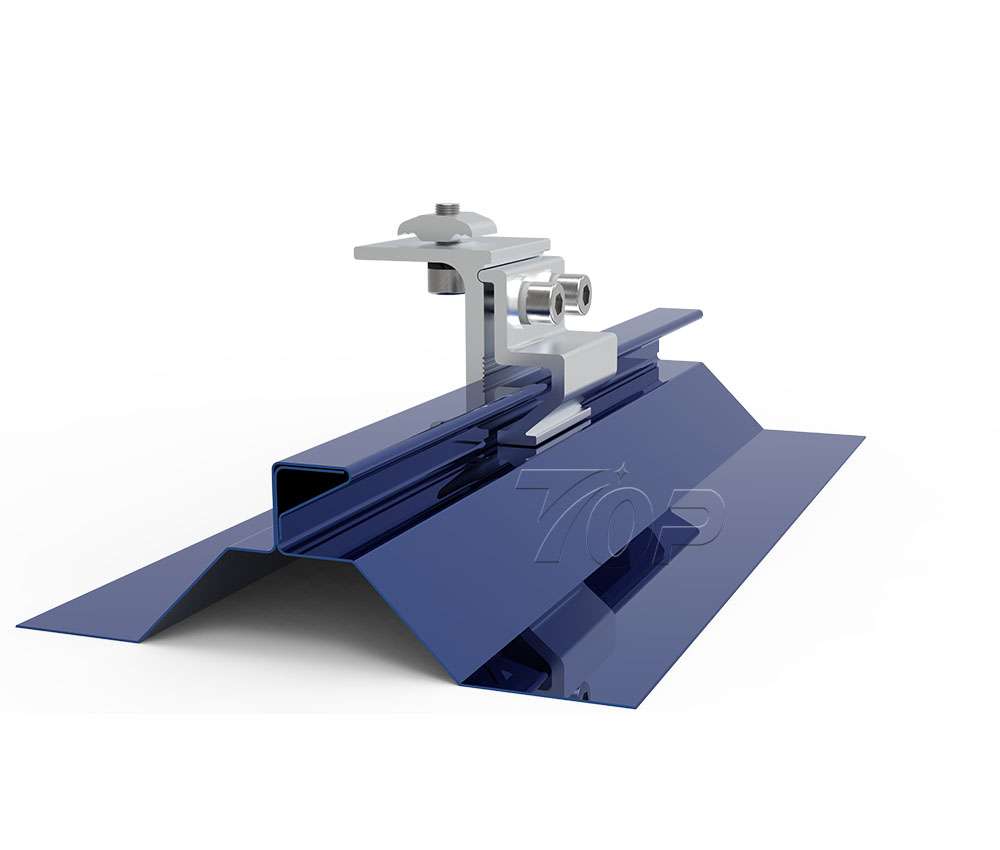
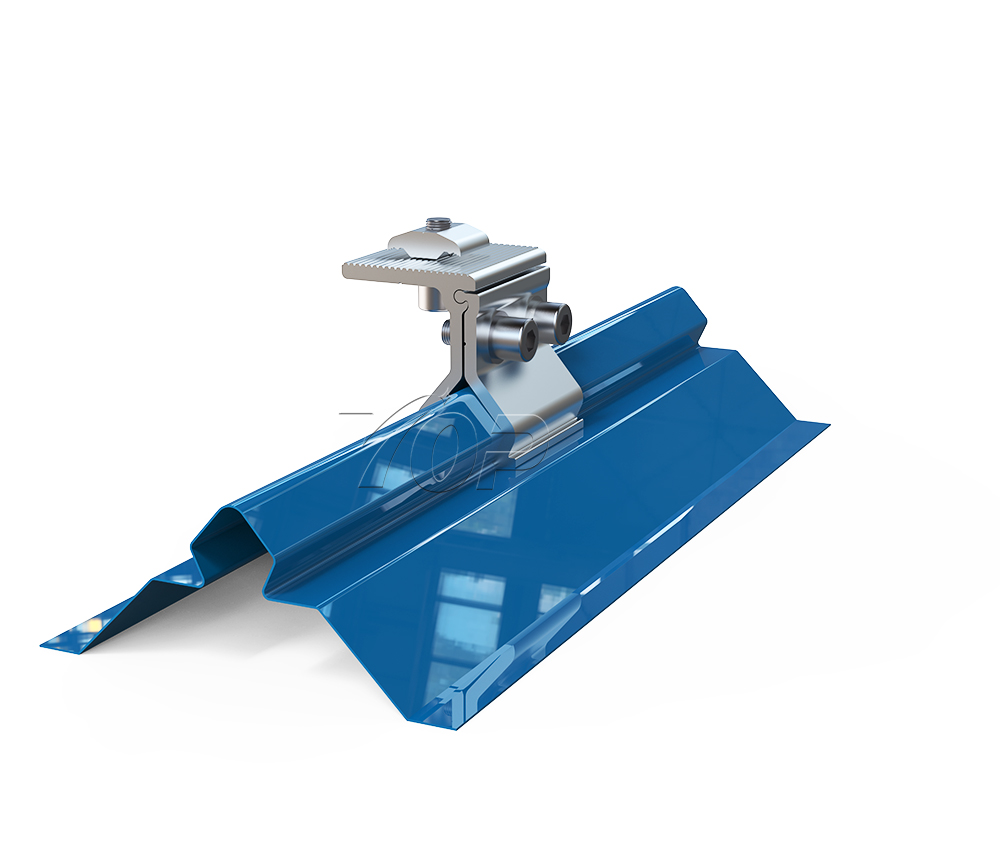
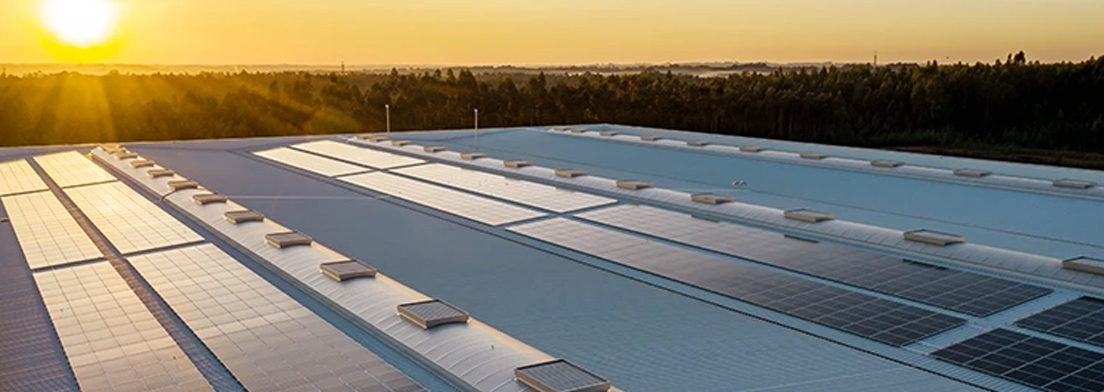
Standing Seam Roof Mounts: A perfect option for standing seam metal roofs, these systems utilize the seams of the roof to attach the panels without any penetration, making them waterproof and ideal for commercial buildings with metal roofs.
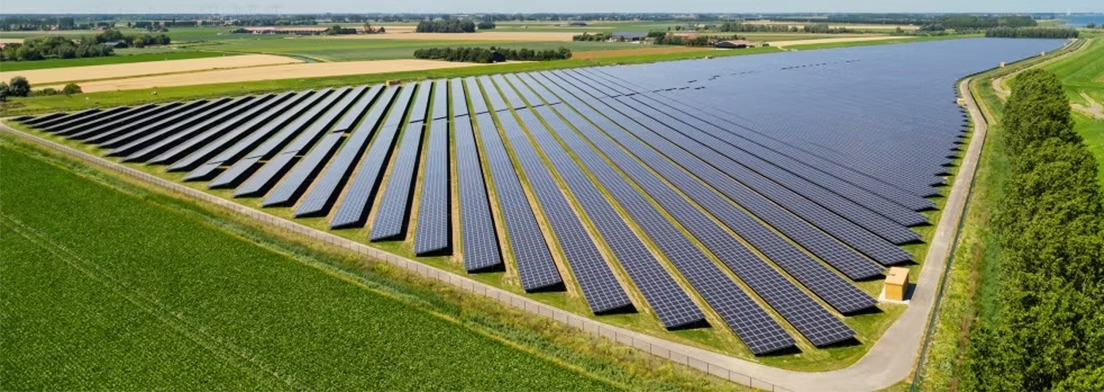
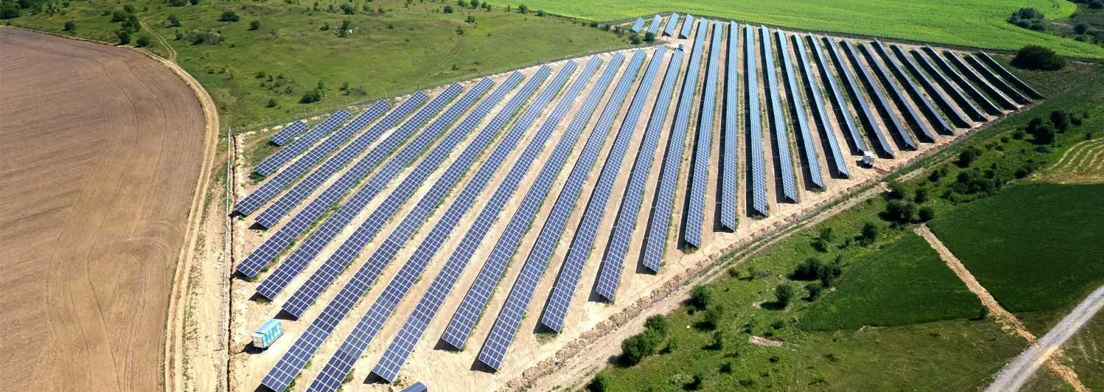
Ground-Mounted Systems
For commercial solar installations, ground-mounted systems are frequently used, especially for large-scale solar farms or properties with available land. These systems are installed on the ground, typically using a steel frame structure to hold the panels in place.
Fixed Tilt Mounts: These systems have a set angle and are positioned to maximize solar exposure throughout the year. They are widely used for both residential and commercial installations.
Adjustable Tilt Mounts: Allow users to adjust the angle of the panels to capture optimal sunlight at different times of the year. These mounts are ideal for large commercial installations looking to maximize energy production.

Ballasted Solar Mounting for Flat Roofs
Another popular system is ballasted mounts, which use heavy weights or concrete blocks to secure the panels in place, without requiring penetration into the roof or ground. These are particularly useful for flat roofs or properties with weak soil.
Choosing the Best Solar Mounting System for Residential Installations
Key Considerations for Homeowners
Roof Type: The type of roof you have will dictate the type of solar mounting system you need. For example, a sloped roof may benefit from rail-based or rail-less mounts, while a flat roof could require ballasted mounts or ground-mounted systems.
Aesthetic Preferences: Some homeowners prefer a clean, minimalistic look, which makes rail-less mounting systems a great option. They don’t require visible hardware like rails, offering a more modern and streamlined appearance.
Budget: Rail-less systems tend to be more cost-effective and easier to install, while rail-based systems may be a bit more expensive but provide a higher level of adjustability.
Efficiency: The angle at which solar panels are installed plays a significant role in their efficiency. Adjustable tilt mounts for roofs can optimize energy capture throughout the year.
Choosing the Best PV Mount System for Commercial Installations
Key Considerations for Businesses
Roof and Ground Space: Commercial properties with large roof areas may benefit from rail-less or ballasted mounts, while ground-mounted systems are ideal for properties with sufficient land area.
Load Bearing and Durability: Commercial systems must be able to handle a higher load of solar panels, and must be built to withstand harsh weather conditions. Carbon steel and aluminum are the most common materials used for commercial solar mounting systems due to their durability and rust resistance.
Customization: Many commercial systems are custom-built to accommodate specific roof layouts, the orientation of the building, and other factors that maximize energy production.
Long-Term Investment: Ground-mounted systems may have a higher initial cost but offer better scalability for large solar installations, while roof-mounted systems are typically more cost-effective for smaller commercial spaces.
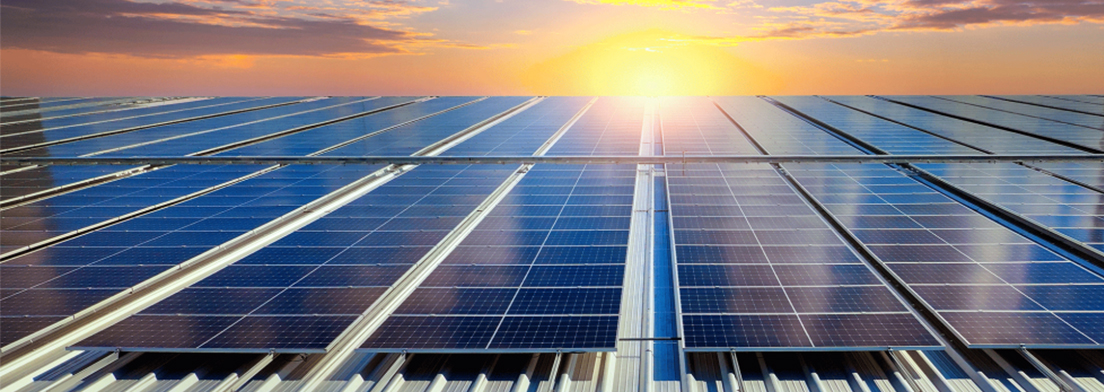
Why Strong Solar Mounting Systems Matter for Solar Panel Efficiency?
A well-designed pv mounting system ensures the optimal orientation and stability of solar panels, which directly influences the solar panel system’s performance and efficiency. A poor installation or low-quality solar mounting system could result in solar panels not capturing enough sunlight, resulting in lower energy output and long-term inefficiency.
Moreover, the durability of the solar panel mounting system is crucial to ensure that your solar panels remain secure and functional for decades. A sturdy system also reduces the risk of damage during extreme weather, preventing costly repairs and enhancing the overall lifespan of your solar power system.
Popular Solar Mounting Brands and Systems
There are many reputable brands that offer high-quality solar mounting systems for both residential and commercial installations. Some of the top brands include:
Unirac: Known for its durable and easy-to-install solar mounting systems, Unirac is a leader in both rail-based and rail-less systems.
IronRidge: Offers a wide range of solar mount solutions, including adjustable tilt mounts and ballasted roof mounts.
SnapNrack: A popular choice for residential solar installations, offering both rail and rail-less systems.
Choosing the Best Solar Mounting System for Your Needs
Whether you are installing solar panels on a residential roof or managing a commercial project, selecting the right solar mounting system is key to ensuring the success and efficiency of your solar installation. Consider factors like your roof type, budget, and long-term goals when choosing a system, and work with trusted suppliers who offer high-quality and reliable products.
For residential installations, rail-less mount systems are becoming increasingly popular due to their cost-effectiveness and simplicity. For commercial installations, ground-mounted systems or adjustable tilt mounts may offer the scalability and durability needed to meet higher energy demands.
By making an informed choice on your solar mounting system, you can ensure that your investment in solar energy pays off for years to come.